How to Use Bike Shoes in Triathlon: Flying Mounts, Boa Dials and T1/T2 Tricks
Your choice of bike shoes and how you use them in T1 and T2 can easily save 30–60 seconds per transition. With the rise of Boa dial closures and refined flying mount technique, this is one of the most accessible areas to improve your triathlon time without getting fitter. Here’s everything you need to know.
Why Bike Shoes Matter in Triathlon
Standard cycling shoes clip in and out of pedals quickly but can be tricky to run in. Triathlon-specific shoes and technique allow you to mount the bike barefoot and clip in while moving — eliminating the time spent putting shoes on at your transition mat. For competitive age groupers, T1 and T2 combined often account for over a minute of total race time.
Shoe Types for Triathlon Transitions
- Road cycling shoes with Boa dials — The most popular choice. Boa systems close in a single twist and open instantly by pressing the dial. Far faster than velcro or buckle straps in a race setting.
- Triathlon-specific shoes — Designed with a single-piece upper, large heel loop, and single Boa or velcro. Optimised for putting on while moving or very quickly at the transition mat.
- Heel loops — A rubber or fabric heel tab attached to the shoe body, designed to help you flip the heel section open without bending down. Essential for flying mount technique.
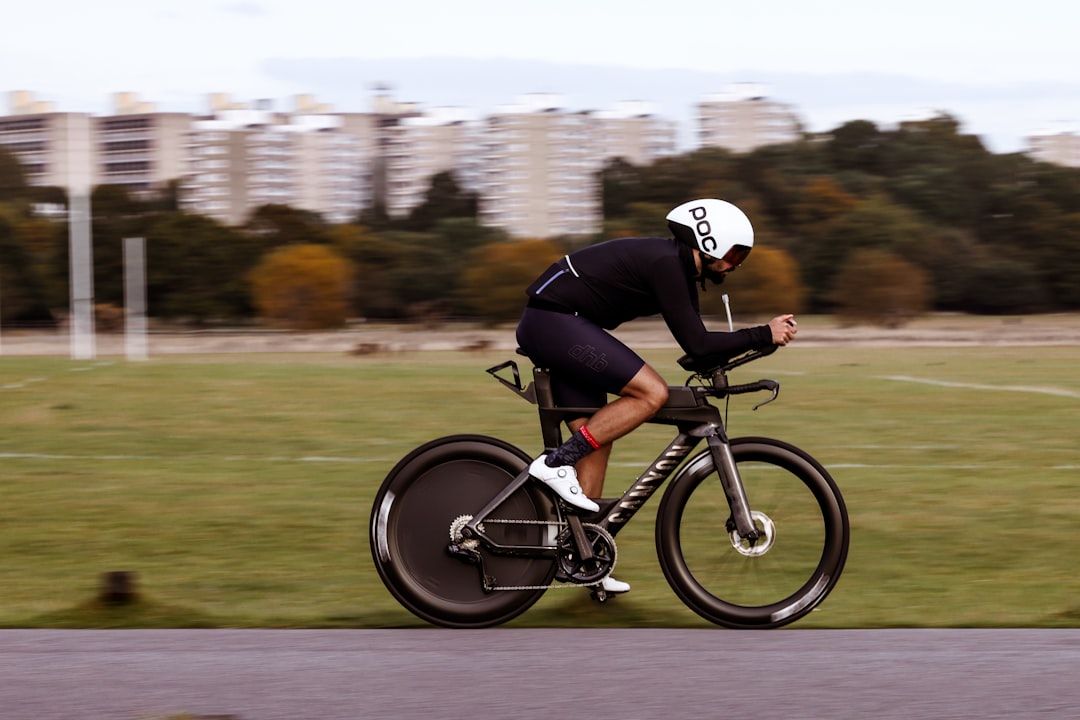
T1: The Flying Mount Technique
The flying mount is where you rack your shoes already clipped to the bike and mount moving — never putting shoes on at the transition mat. Here’s the sequence:
- Before the race, clip your shoes to your pedals and use rubber bands around the heel of each shoe and the quick-release skewer or frame to hold them horizontal.
- In T1, grab your bike and run to the mount line in bare feet.
- At the mount line, jump onto the bike saddle (don’t swing your leg over the back — slide sideways onto the saddle while pushing off with one foot).
- Start pedalling in your socks or barefoot. The rubber bands snap as you pedal.
- Once you’re moving and balanced, place your foot on top of the shoe (not in it yet) and continue pedalling for a few strokes to build speed.
- Reach down with one hand, pull the heel loop, and slip your foot in. Fasten the Boa with one twist. Repeat for the other foot.
T2: The Flying Dismount
Coming into T2, the reverse applies. About 200–400 metres before the dismount line, unclip one foot and rest it on top of the shoe. Then unclip the other foot and place it on top of its shoe. As you approach the line, swing your dominant leg over the back of the bike (keeping both feet on top of the shoes), then hit the ground running with both feet and guide the bike with your hands.
Boa Dial Tips for Faster Transitions
- Practice closing your Boa dials with one hand while pedalling in training — you’ll need to do it without looking down.
- Set the Boa tension before the race so you just need one or two turns to secure it — don’t start from fully open.
- Some athletes loosen the Boa slightly during the bike leg to increase blood flow, then retighten for the run-up to T2.
- Apply a thin layer of petroleum jelly or BodyGlide inside the shoes if you’re going barefoot — this prevents blistering on the run.
How to Practice
Don’t attempt a flying mount on race day without practice. Set aside 30 minutes in an empty car park and run through the full sequence: elastic bands on shoes, running mount, pedalling barefoot, clipping in while moving, and then the T2 dismount. Practice the Boa closure with one hand at speed on your turbo trainer beforehand. Three or four dedicated sessions are enough to make the technique feel natural.