Triathlon Bike Setup Guide: Fitting, Position, and Pre-Race Checks
Getting your bike setup right is as important as the training you put in. A poorly fitted bike causes discomfort, inefficiency, and injury — a properly fitted one makes every watt count and keeps you injury-free through long training blocks. Whether you’re on a road bike or a dedicated tri bike, here’s how to get your position dialled.
Road Bike vs Tri Bike: Which Do You Need?
You don’t need a dedicated tri bike to race triathlon — and for your first few seasons, a road bike with clip-on aero bars is the smarter investment. Road bikes are more comfortable for training, easier to handle, and dramatically cheaper than entry-level tri bikes. A quality road bike with clip-on tri bars and a bike fitting will make you faster than an ill-fitting TT bike. Once you’re racing seriously (3+ events per year) and your position is established, a dedicated tri bike makes sense.
Essential Bike Fit Measurements
- Saddle height — With your heel on the pedal at the bottom of the stroke, your leg should be fully extended with no hip rock. A 5mm change in saddle height changes your power output and comfort significantly.
- Saddle fore-aft position — Sit in the middle of your saddle and drop a plumb line from the front of your kneecap. It should fall directly over the pedal axle (KOPS — Knee Over Pedal Spindle).
- Handlebar reach — On a road bike, your arms should have a slight bend at the elbow (15–20°) in the riding position. Too stretched causes lower back strain; too upright limits power transfer.
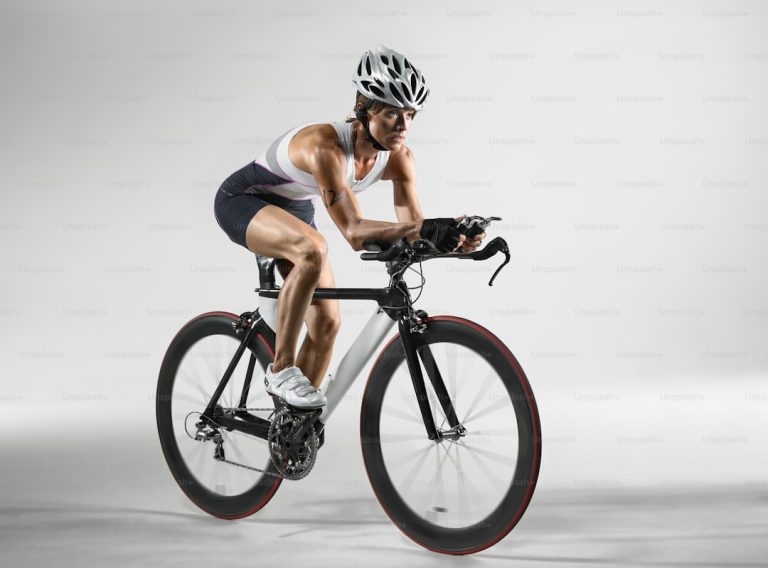
- Aero bar position (tri bikes) — Your torso angle should be 15–25° from horizontal for road triathlon. More aggressive positions (UCI legal limit: 0°) reduce drag but require significant core strength and flexibility.
Should You Get a Professional Bike Fit?
Yes — and sooner rather than later. A professional Retül or BG Fit session costs £100–£200 and pays for itself within a season in injury prevention and watts saved. If you’re buying a new bike, ask the shop to include a basic fitting with the purchase. If you’re setting up at home, at minimum use a plumb line for knee tracking and a goniometer app on your phone to measure angles.
Key Components to Set Up Correctly
- Cleats — Position the cleat so the ball of your foot sits over the pedal axle. Misaligned cleats are the number one cause of knee pain in cyclists.
- Saddle tilt — A slight nose-down tilt (1–2°) relieves perineal pressure. Too much nose-down and you’ll slide forward onto the narrowest part of the saddle.
- Stem length — If you feel stretched or cramped after a fitting, a stem change (typically 5–10mm longer or shorter) is cheaper than a new frame and dramatically changes comfort.
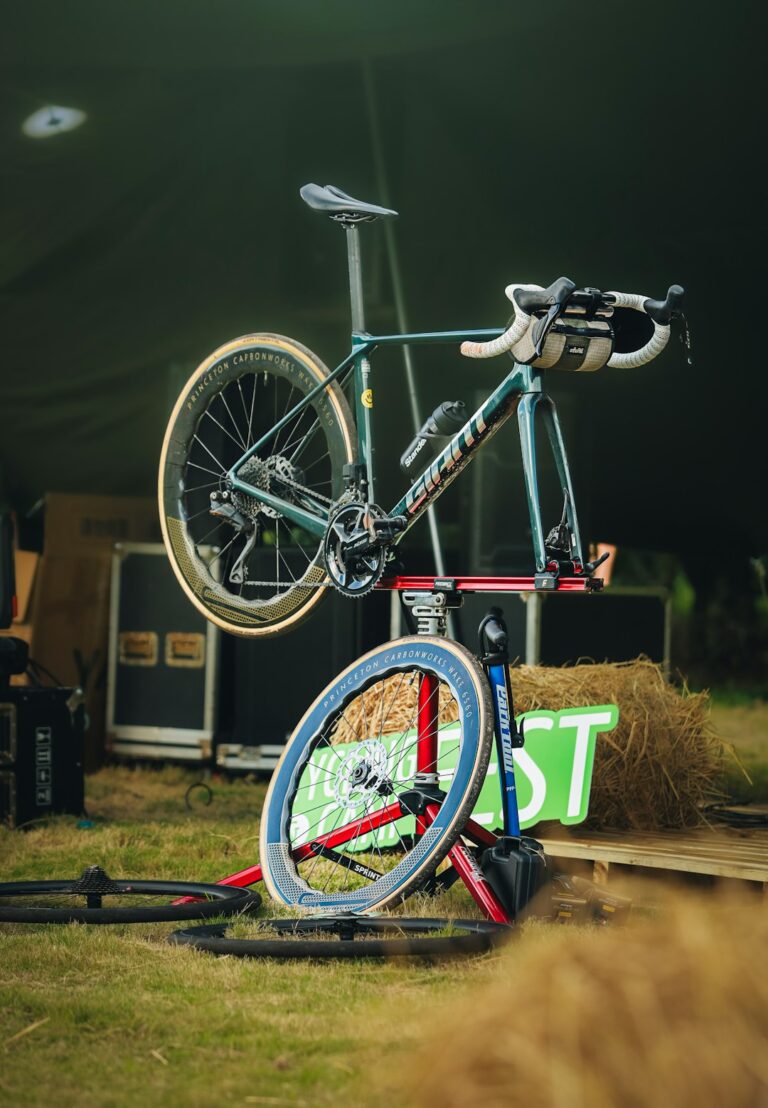
Pre-Race Bike Check
Before every race and long training ride, run through this quick checklist: check tyre pressure (road: 90–110 PSI, tubeless: 70–85 PSI); check brake function from both levers; spin the wheels and check for wobble; confirm computer or GPS is charged; check QR skewers or bolt-through axles are properly secured. Two minutes before the start beats a mechanical on the race course.