How to Read a Triathlon Course Map
Why Course Maps Matter
Studying a triathlon course map before race day is one of the highest-value pre-race preparation tasks you can do. Athletes who know the course can plan their nutrition, identify effort sections, anticipate tight corners, and choose their kit with confidence. Here is how to get the most out of any course map you encounter.
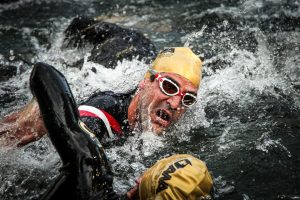
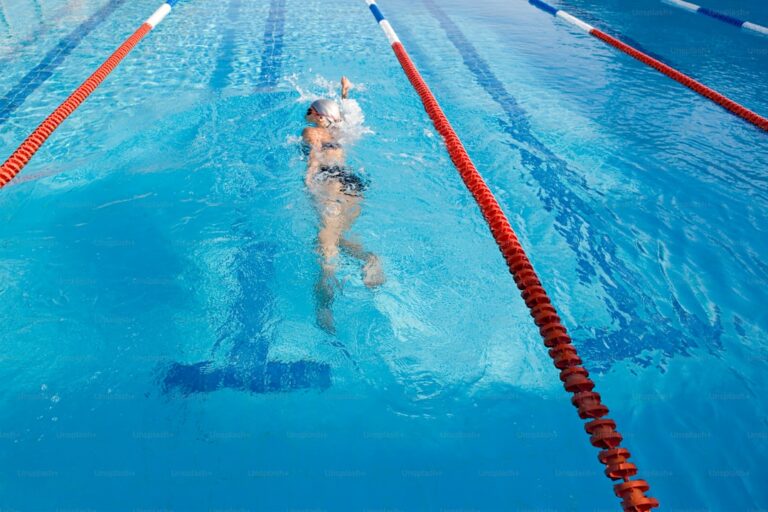
Reading the Swim Course Map
Swim maps typically show a looped course marked with coloured buoys. Orange or yellow buoys are usually turning marks, while smaller red or pink buoys mark the sides of the course. Note the number of laps, the total distance, and the direction of travel (clockwise or anticlockwise). Plan your sighting sequence based on buoy spacing — you will typically sight every 6 to 10 strokes between each turning mark.
- Identify the entry point and exit ramp before race day — visit if possible
- Note whether the sun will be in your eyes on the outward or return leg during your wave start time
- Check whether the swim is in a current-affected open water venue — some courses are point-to-point for this reason
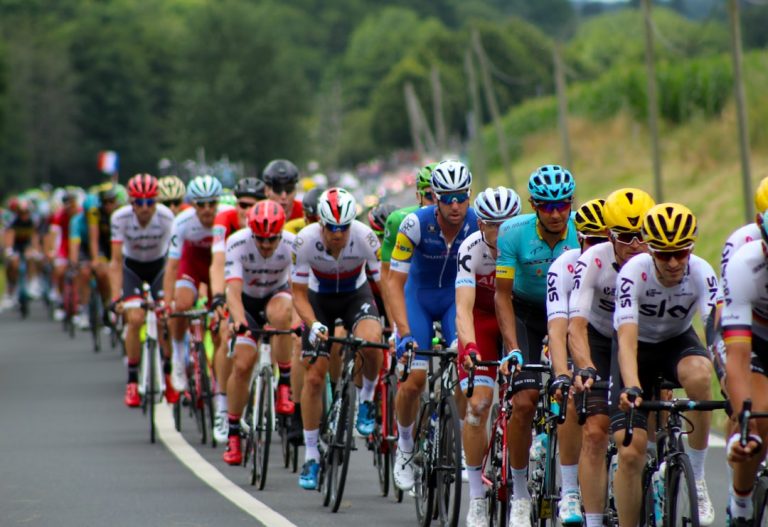
Reading the Bike Course Map
Bike course maps show the full route with turn-by-turn directions, often with elevation profiles. Look for the following key features to plan your pacing and nutrition strategy.
- Elevation profile: Identify where the major climbs occur relative to total distance — front-loaded vs back-loaded courses require different pacing strategies
- Turn complexity: Tight corners require slowing down, which affects your overall average speed calculation
- Aid stations: Mark their locations on the map and plan which items you will take at each
- Technical sections: Downhills, roundabouts, and narrow lanes need extra attention when riding the course for the first time
Reading the Run Course Map
Run maps often show out-and-back or looped sections. Check whether the course is flat, undulating, or has a significant hill section. Multi-lap run courses are common at sprint and Olympic events — knowing how many times you pass each aid station lets you plan your nutrition intake precisely.
- Note where the finish line is relative to the final turning point — the last 200m is often the most motivating stretch if you know it is coming
- Identify any road crossings, marshal-controlled junctions, or narrow sections to anticipate on race day
- On out-and-back courses, use the halfway point as a mental anchor for pacing
Practical Pre-Race Checklist
- Download the official course map from the race website at least 2 weeks before the event
- Load the bike and run routes onto your GPS watch as navigation aids where permitted
- Visualise the key moments on each leg: buoy turns, major climbs, transition locations, and the finish chute
- If possible, recce the bike course in the week before the event to confirm road surfaces and junctions